Why Plastering Comes Before Painting - A Recent Job in Epsom, KT17
If you've been putting off getting a room decorated because the walls are in a rough state, you're not alone. It's one of the most common things I come across when I visit homes around Epsom - someone wants a fresh coat of paint, but the walls haven't been touched in years and the plaster is cracked, blown, or just too uneven to paint over without it looking worse than before.
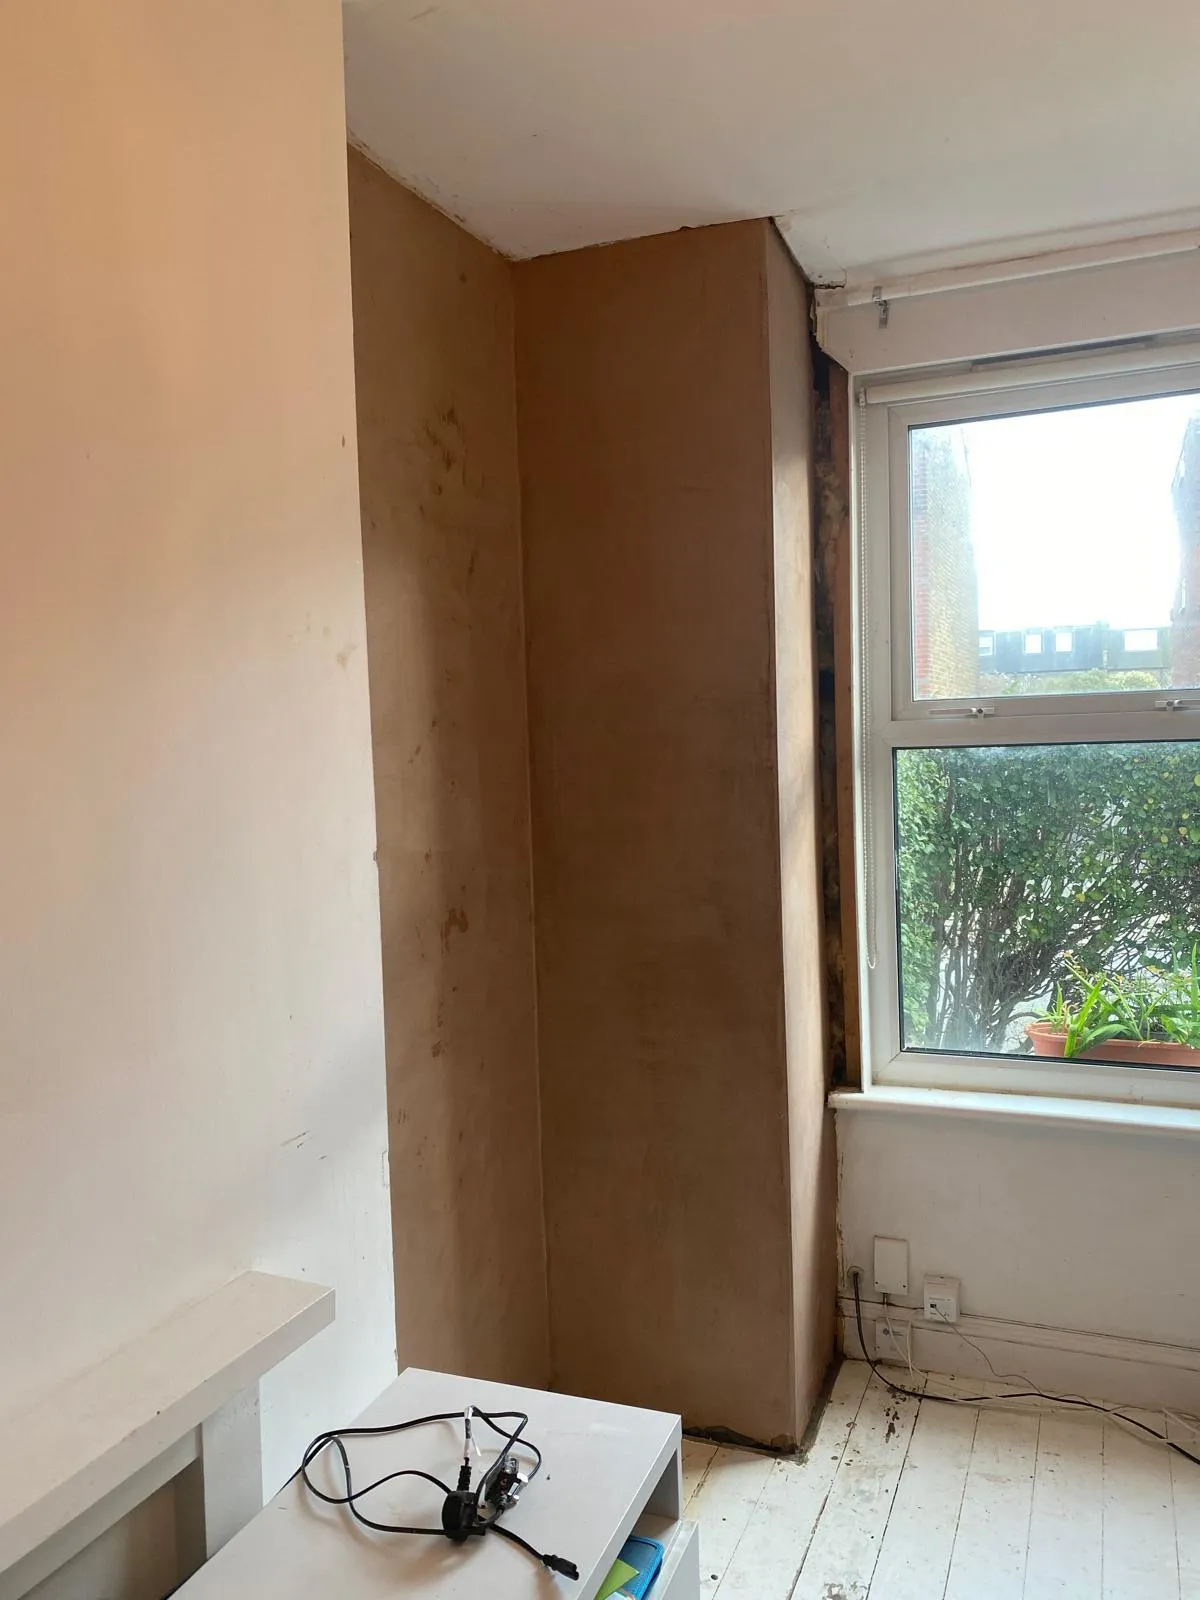
This was exactly the situation on a recent job I took on in KT17. The customer wanted the room freshened up and repainted, but it was clear from the first look that painting straight onto those walls wasn't an option. The plaster was damaged in several areas, the surface was inconsistent, and the window reveals needed rebuilding properly. Before a single brushstroke could go on, the walls needed to be properly prepared - and that meant replastering from scratch.
What Was Wrong With the Existing Plaster?
Old plaster deteriorates for all sorts of reasons - age, general wear, minor movement in the walls, or moisture that's found its way in at some point over the years. In this case, the walls had reached the point where patching wasn't going to cut it. Patching can work well when damage is isolated, but when you've got multiple areas that are compromised and a surface that's uneven throughout, you end up chasing your tail. The better approach - and the one that gives a result worth having - is to strip back and start again properly.
I removed the failing plaster, prepared the substrate, and applied a scratch coat across the walls. The scratch coat is the base layer - it's applied, then deliberately keyed (scored with a comb-like tool) while still wet to give the next layer something to grip onto. You can see this clearly in the photos from this job. It's not the most photogenic stage of the work, but it's the stage that determines whether everything on top holds properly.


Once the scratch coat had gone off sufficiently, the brown coat went on - this is where the bulk of the depth and levelness is built up. The window reveals on this job required particular care; they're the kind of area where sloppy work shows immediately, and getting clean, straight lines around a window frame takes time and patience. Beading was used to ensure sharp, accurate arises at the edges.

The final stage was the finishing skim - a thin coat that, when worked correctly, leaves a smooth, tight surface ready to accept paint.

If your walls are in a similar state and you're based in Epsom or the surrounding area, this is exactly the kind of job I take on. Have a look at my painting and decorating page to get a sense of the full picture - from prep work through to finished result.
Why You Can't Just Paint Over Bad Plaster
It's tempting to think a coat of paint will hide a multitude of sins, but in practice it tends to do the opposite - it highlights every imperfection. Paint follows the surface beneath it. Cracks become more visible. Uneven areas catch the light in a way that bare walls don't. And if there's any looseness in the plaster beneath, the weight and moisture of the paint can actually accelerate the problem.
Skimping on prep is the single biggest reason decorating jobs look disappointing. The painting itself might be perfectly applied, but if the foundation isn't right, the finish never will be.

How Long Does Replastering Take Before Painting?
This is worth addressing because it catches some customers off guard. Plastering isn't a one-day-then-paint-tomorrow job. Each coat needs adequate drying time before the next goes on, and fresh plaster needs to be fully cured before paint is applied - rushing this causes the paint to flake or bubble later.

On this Epsom job, the plastering took a couple of days to complete properly. After that, fresh plaster typically needs several weeks to dry fully before a mist coat (a diluted first coat that allows the plaster to breathe) can be applied, followed by the finish coats. I always factor this into the project timeline and talk it through with the customer upfront, so there are no surprises.
What Does Replastering Cost?
I don't quote flat prices in my content - every job is different depending on the area involved, the condition of the existing plaster, and what access is like. What I will say is that the cost of doing it properly is almost always less than the cost of repainting a room twice because the first job didn't hold. Get in touch for a straightforward, no-obligation quote.
Frequently Asked Questions
Do I need to replaster the whole room, or can areas be patched? It depends on the extent of the damage. Small, isolated areas can often be patched successfully. If damage is widespread or the wall surface is inconsistent throughout, a full replaster tends to give a better long-term result and a cleaner finish for painting.
How long does new plaster need to dry before painting? Fresh plaster is typically ready for a mist coat after 4-6 weeks, though this can vary depending on the thickness of the plaster, room temperature, and ventilation. I'll always advise you on timing when I visit.
Can you do both the plastering and the painting? Yes - this is actually the most efficient way to approach it. I handle both, which means consistent standards across the whole job and no handover issues between trades.
I'm in Epsom - how quickly can you come and take a look? I cover KT17, KT18, and the surrounding areas and aim to visit within a few days of enquiry. Drop me a message and we'll get something in the diary.
Will the room be left in a mess while the plaster dries? I protect floors and furniture throughout and leave the space as tidy as possible at each stage. Dust is an inevitable part of plastering work, but I take care to minimise disruption.

Based in Epsom and covering areas including Ewell, Ashtead, and across KT17 and KT18, I take on plastering preparation and full painting jobs for homeowners who want it done properly.
If your walls need work before they can be painted, get in touch via my website and I'll come and have a look.
🌐 jonathan-mills.co.uk
📞 07721 339974
